During this training, we will walk you through the steps required to create a new Unit and navigating your editable options. Units serve as the parent group of Work Instructions and typically represent the Engineering Number of the product being constructed.
Create Unit

Locate the "CREATE UNIT" button on the left side of the Secondary Navigation. Click on this button to access the module for creating a new set of Work Instructions. This will open up the necessary interface to begin the process of creating your Unit.
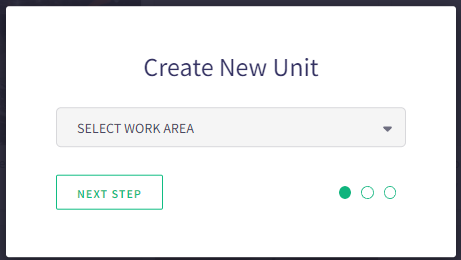
Before you proceed with creating Digital Work Instructions, it is essential to have your Work Areas configured in your HQ Account. Work Instructions are organized and categorized based on Work Areas, and selecting the appropriate Work Area is the first step to get started with creating your instructions. Make sure you have set up the relevant Work Areas in your HQ Account before proceeding with the Work Instruction creation process.
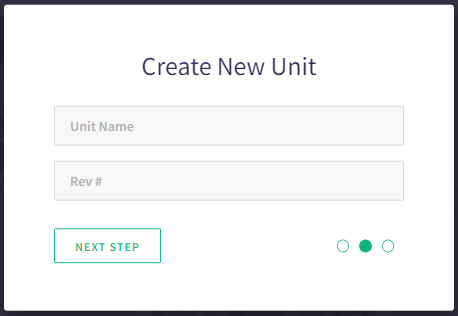
Once you have chosen the desired Work Area, the next step is to set the Unit Name and Revision Number for the Work Instruction you are creating. The Unit Name typically corresponds to the Engineering Number of the product being constructed. On the other hand, the Revision Number should align with the Engineering Revision Number associated with the product.
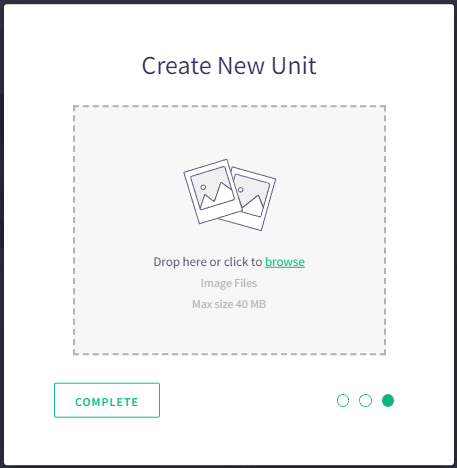
The last optional task is to upload an image that will be associated with the top-level Work Instruction. This image is commonly a photo of the final customer-facing product. Please note that the image will only appear in the navigation of Designer and on the Unit Assigned screen of Compass.
When you have finished setting up the Unit Name, Revision Number, and optionally uploading an image, click on the "COMPLETE" button. This action will take you to the Parent Level editor, where you can start creating and editing your Digital Work Instructions for the selected Unit.
Parent Level Navigation
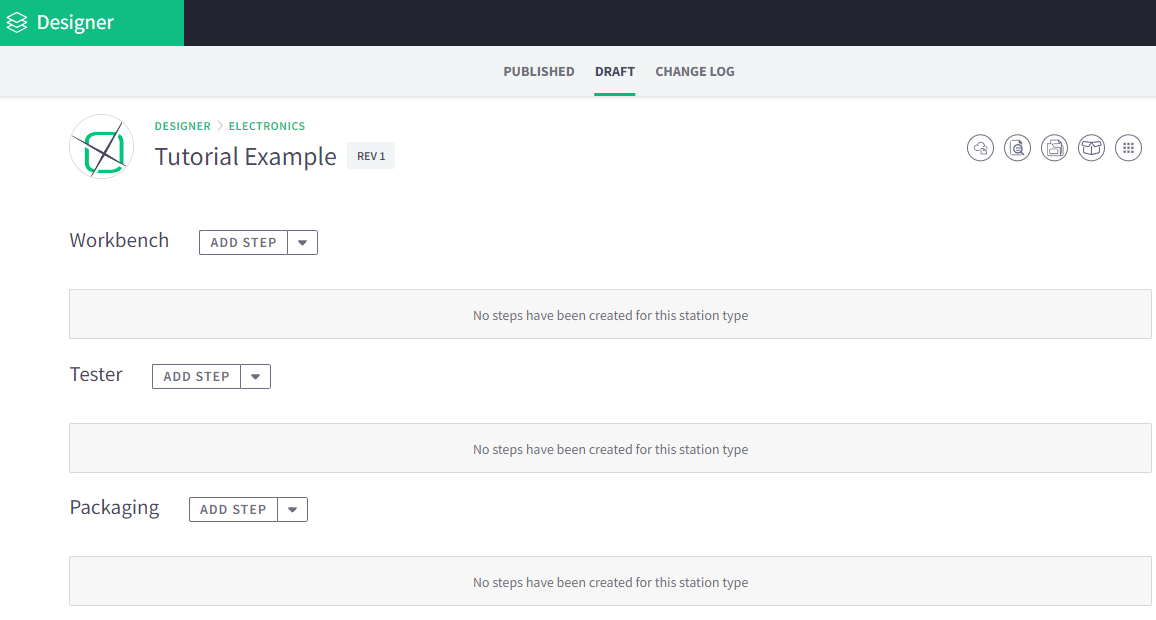
In the image provided, we have created a Unit named "Tutorial Example" with the Revision Number "REV 1." Along with this, our account shows three distinct Station Types: Workbench, Tester, and Packaging (please note that the specific Station Types may vary depending on your setup).
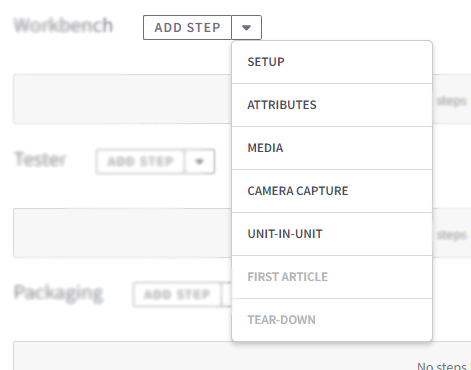
ADD Menu
Station Types serve a crucial purpose on the production floor in Compass. Each Compass station is assigned a unique Station Type, which helps the Compass station retrieve the correct set of documents associated with that particular task or production cell.
To the right of each Station Type you will see "ADD STEP" and a down-arrow, this ADD Menu will give you access to tools or folders to populate the digital files associated with the Unit.
Change Unit Name
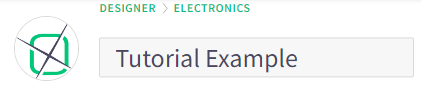
To update the top-level Name of a Unit, click on the Unit name at the top of the screen. This action will change the display from read-only to editable. Modify the Unit name as needed. After making the desired changes, click anywhere outside of the textbox to save the updated Unit Name.
Change Unit Revision
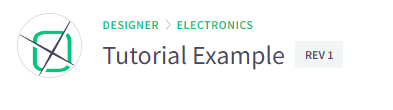
To update the top-level Revision of a Unit, locate the gray box situated to the right of the Unit name at the top of the screen. Click on the gray box and it will open the Revision Change module.
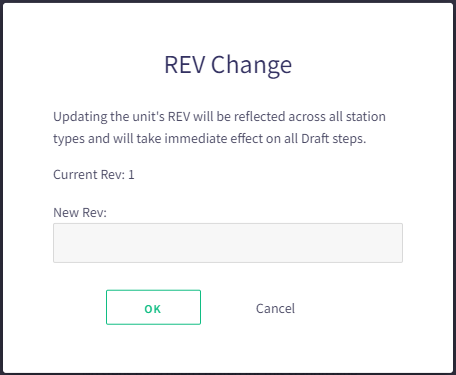
Once the module is opened, you will be able to make the necessary adjustments. Press 'OK' to save the change, or 'Cancel' to close module.


 2 min read