This training session is a continuation of Part 3, focusing on all non-image elements of a Basic Work Instruction. Before proceeding with this training, please ensure you have completed Designer Part 3 ('Basic Step Instructions') and have a Unit created in HQ Designer.
Instruction Details
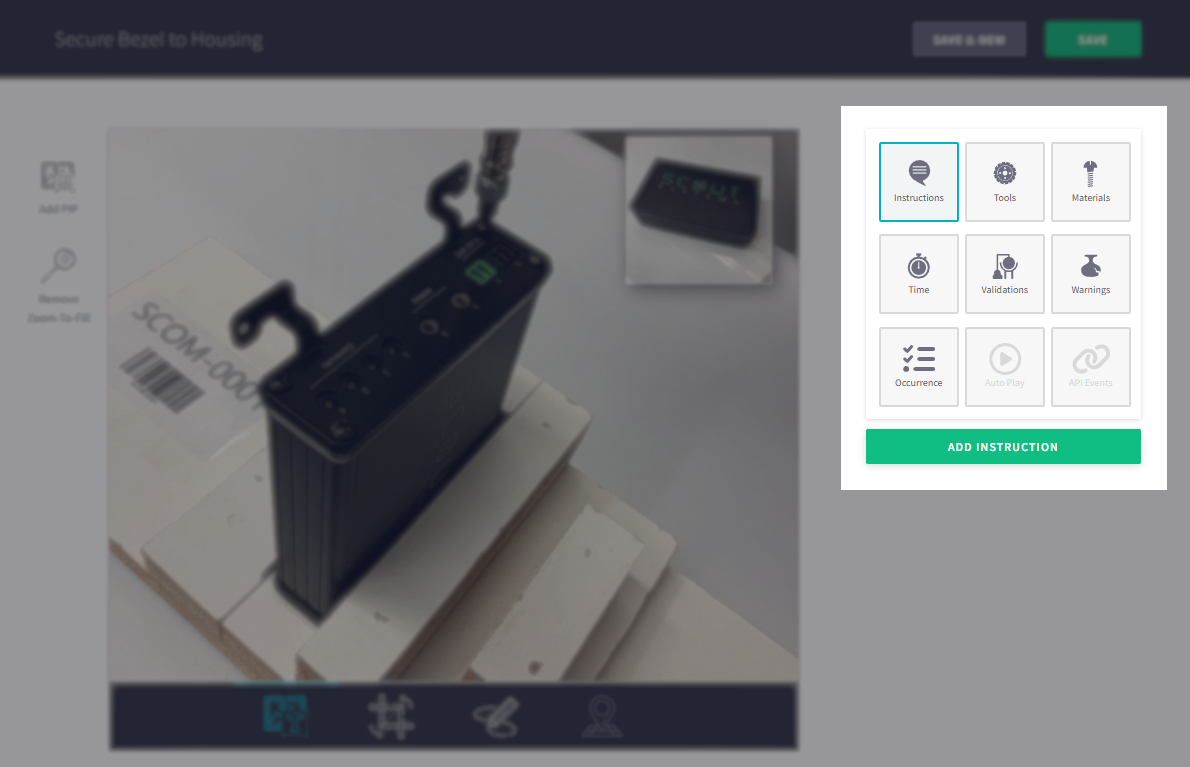
Inside the Step Editor, to the right of the Step Image, you will find 9 tiles. Each tile represents additional methods to enhance your Digital Work Instructions further. These tiles provide a range of options and tools that enable you to create comprehensive and visually engaging instructions, ensuring a smooth and efficient workflow on the production floor.
Instructions
To add Text Instructions select the top-left tile and press the green button below "ADD INSTRUCTION".
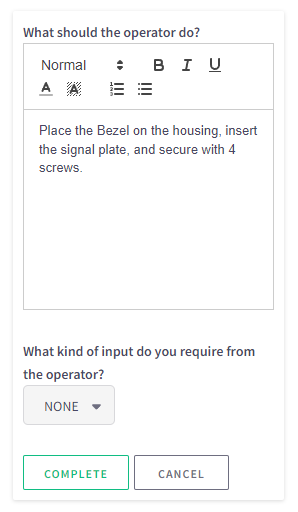
With the editor open, you can type in your instructions while editing the text size and colors. Once the text is ready, press the "COMPLETE" button to have it generate on the Step Image.
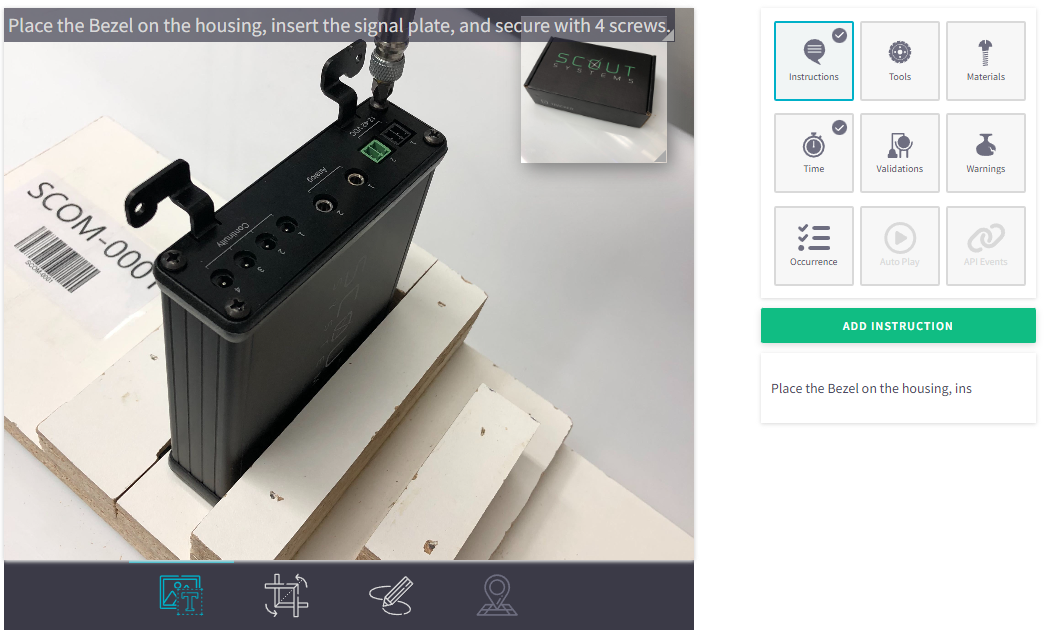
The Text Instruction will be displayed at the top-left of the Step Image in the Step Editor. To resize the text box, click on the bottom-right corner of the text box and adjust its size as needed. Additionally, you can click and drag the text box to place it in the desired location within the Step Image.
To Edit or Delete an existing Text Instruction hover over the box on the right side of the screen, below the 9 tiles. A pencil (Edit) and trashcan (Delete) icon will appear.
To add multiple Text Instructions to a single step, press "ADD INSTRUCTION".
Tools
For Steps that require the usage of a Tool, it is recommended to embed the tool directly into the Step. To access your Tool Library, click on the "Tools" tile located at the top-center of the tile grid. From there, click on "ADD TOOL" to open the Select Tool Module.
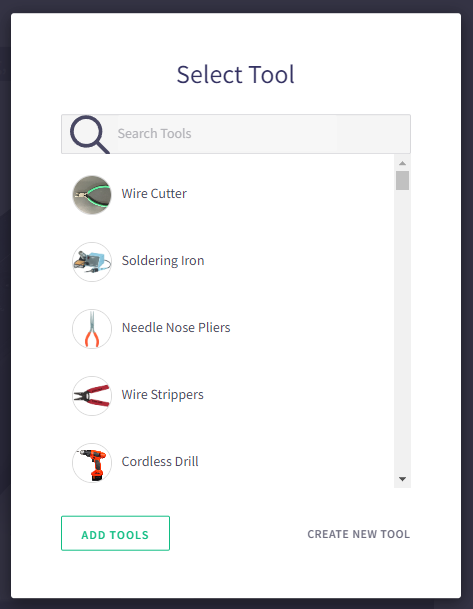
If you have existing Tools in your library, they will appear on the Select Tool Screen. You can simply click on the Tools needed for this Step and press "ADD TOOLS" to embed them into the Step.
In case the required Tool does not exist in the library, you can create a new one by clicking on "CREATE NEW TOOL" and providing the relevant details.
Once a Tool is embedded to the Work Instruction, you can click on the Tool to add Step specific details.
Materials
One of the significant benefits of using Digital Work Instructions is that your operators can easily access the precise Tools & Materials required for individual Steps, eliminating the need to rely on a top-level list. To assign Materials to a Step, simply click on the "Materials" icon located at the top-right of the tile grid, and then click the "ADD MATERIAL" button.
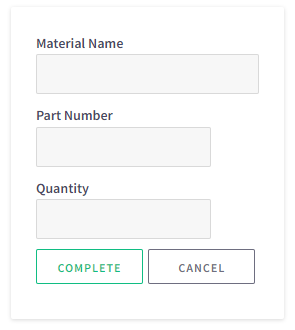
Include the Material Name (or Description), the Part Number, and an integer value to represent the Quantity. When satisfied, press "COMPLETE".
Time
Each Step can have a pre-determined allocated time, which serves to inform the operators when the task should be nearing completion. When 80% of the allocated time has elapsed, the timers will change to Alert Orange, providing a visual indication of the approaching deadline.
If a Step does not have an assigned time, the timers will also be displayed as Alert Orange. However, it is strongly recommended that you utilize a time, even if it's just an estimate, to help operators distinguish the importance of the two colors. This distinction aids operators in understanding the urgency and importance of each step, promoting better time management and overall efficiency in the production process.
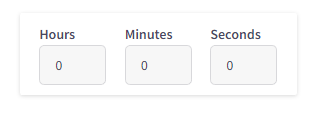
To allocate a Time to a Step, simply click on the 4th tile labeled "Time" in the tile grid. This action will present you with options to select the hours, minutes, and seconds needed to complete the Step.
Warnings
An effective approach to prevent common defects or injuries is by embedding a Warning to a Step. To access Warnings, click on the 6th tile labeled "Warnings" in the tile grid, and then simply press the "ADD WARNING" button.
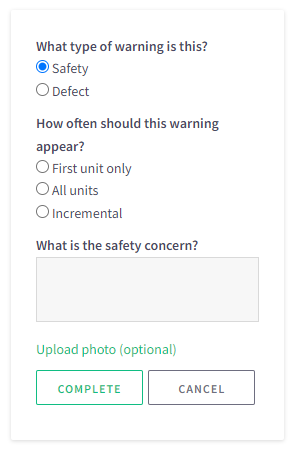
Here, you will be able to set Safety and/or Defect Warnings (1 of each max per step). You can determine how frequent the Warning will appear, describe the concern, and if desired include a photo.
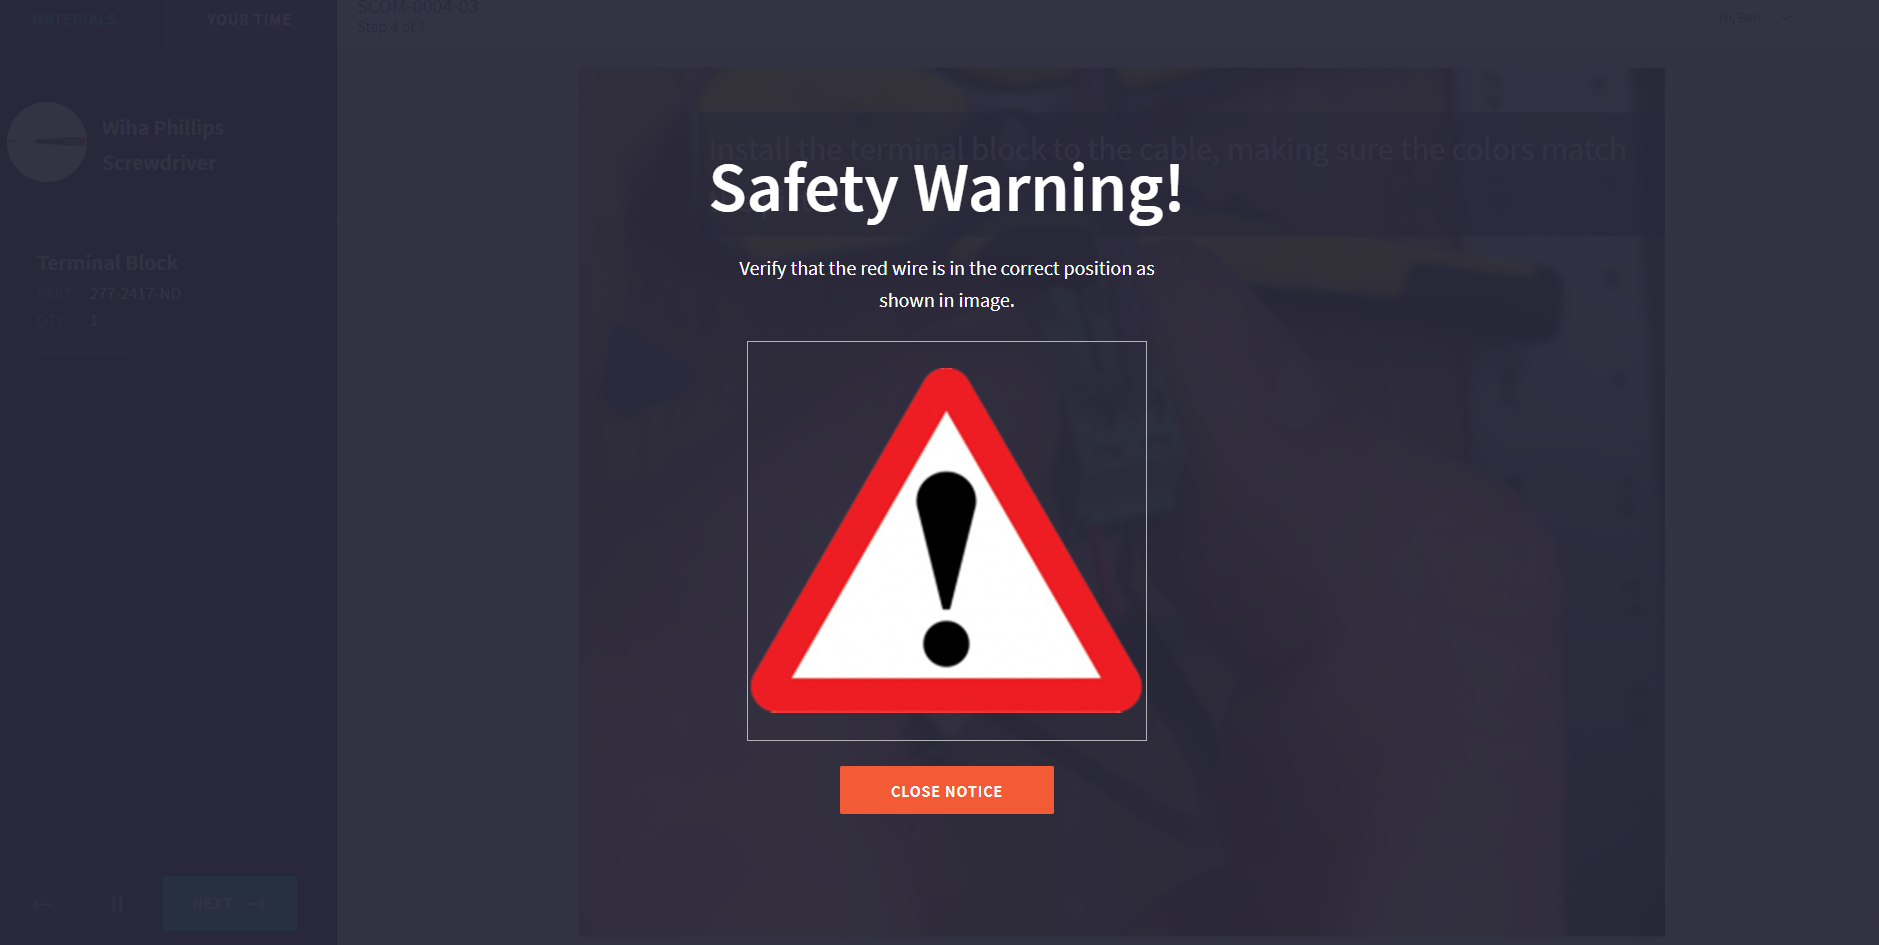
In Compass, Warnings will be displayed at the beginning of a Step, and Operators will be prompted to acknowledge and close the Notice, ensuring that they have seen and understood the Warning message. This feature helps to ensure that critical safety information or important instructions are properly communicated to the Operators, reducing the likelihood of overlooking crucial details and enhancing overall safety and compliance during the production process.
Saving Step Changes
When you are done making changes to the Step, be sure to Save your work. At the top-right hand side of the Step Editor page, you will see "SAVE & NEW" and "SAVE".

- SAVE & NEW: Will save all changes, and open a new blank Step
- SAVE: Will save all changes, and will return to Unit parent-level


 2 min read