

In this training session, we will go over the process of creating and modifying the production schedule using HQ Live Production.
ADD Job
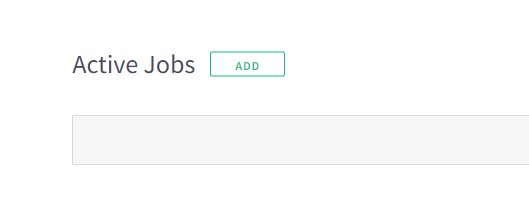
In HQ Live Production, authorized users will notice an "ADD" button located next to "Active Jobs." Clicking this button opens advanced controls, allowing users to create a new job and assign it to a specific station.
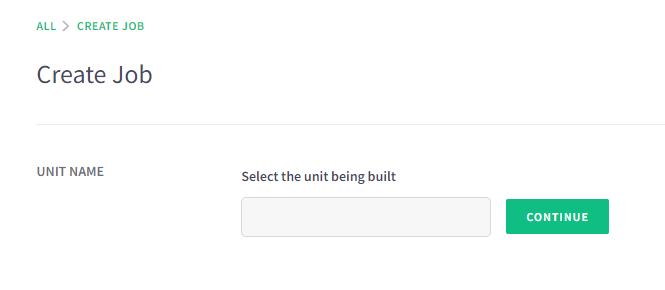
To begin creating a job, the initial step involves specifying the Unit that Operators will be responsible for building. Clicking inside the text box triggers a drop-down menu containing all Units with Digital Work Instructions. If the desired Unit is not present in the list, manually entering the name is an option, and the job will be loaded without Instructions. After ensuring the correct Unit is entered, proceed by clicking the green "CONTINUE" button.
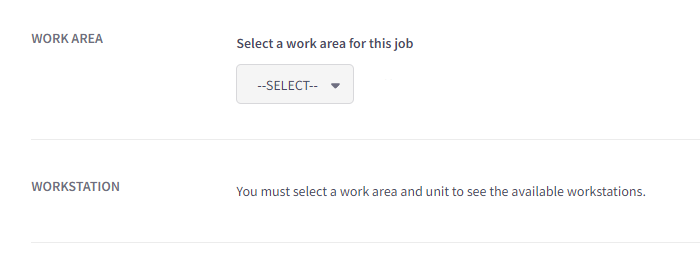
The next step is to choose the Work Area to which this job will be assigned. After selecting a Work Area, a list of all recognized Stations in that area will be automatically generated below.

Job Group Number is an optional field that may not be enabled for your selected Work Area. It is often used to represent a Customer, enabling report searches to identify all Work Orders sharing the same number. If this field is visible, it must be filled in as a mandatory input.
After you've entered your Work Order number and specified the Total Units to be built at the Station, scroll to the top of the page and click the "Load Job" button.
Editing a Job

After creating a job, it will show up as an Active Job for the selected stations, and its status will be listed as "Queued." The number following "Queue" indicates its placement in the production schedule. If it's the only job in the queue, it will be labeled as "Queue 1." Only jobs in the Queued status are editable. By clicking on a Queued job, you can reopen the Order Details screen, and the "EDIT" button will be located in the top-right corner.
Reordering a Job
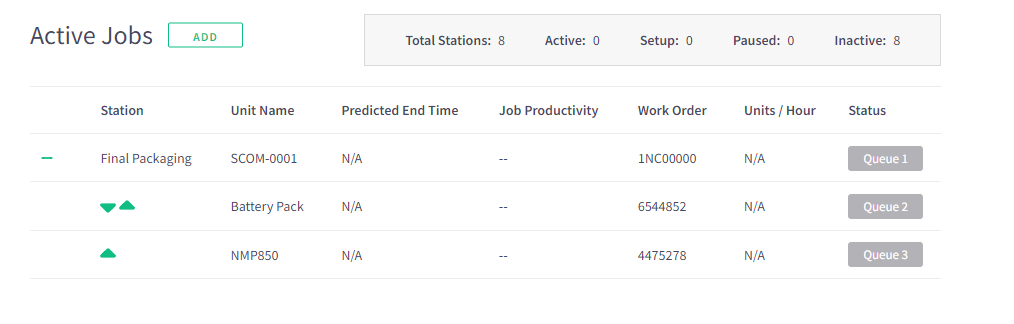
When a station has multiple jobs assigned to it, you'll notice a green "+" sign next to the Station Alias. Clicking on this sign will expand the production schedule for that station. Green arrows will also appear next to all the jobs in the queue. By clicking either the up or down arrow, you can adjust the queued position of a job within the schedule.


 3 min read