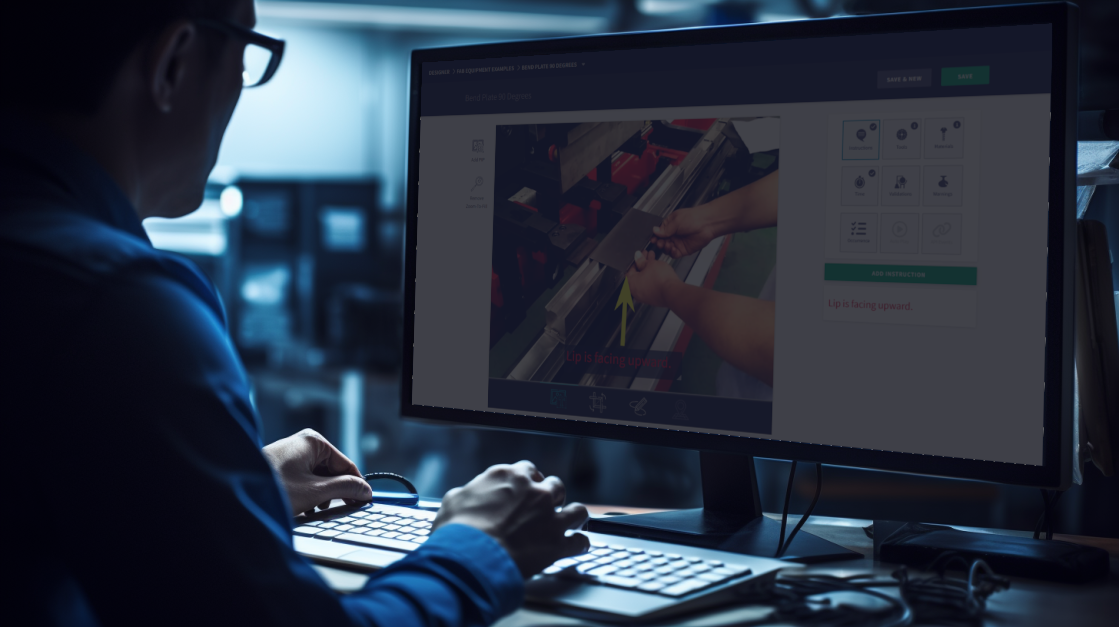
In this training we will explore the advanced features of Compass with Instructions. This mode offers step-by-step guidance, providing a more comprehensive and interactive experience for your production process.
Add Job Drop-Down
As you populate Job information from the Add Job screen, you may notice a convenient feature when clicking into the Unit Name input field. A drop-down selector will appear, providing you with a list of Units that have Work Instructions published and available for your specific Station Type.
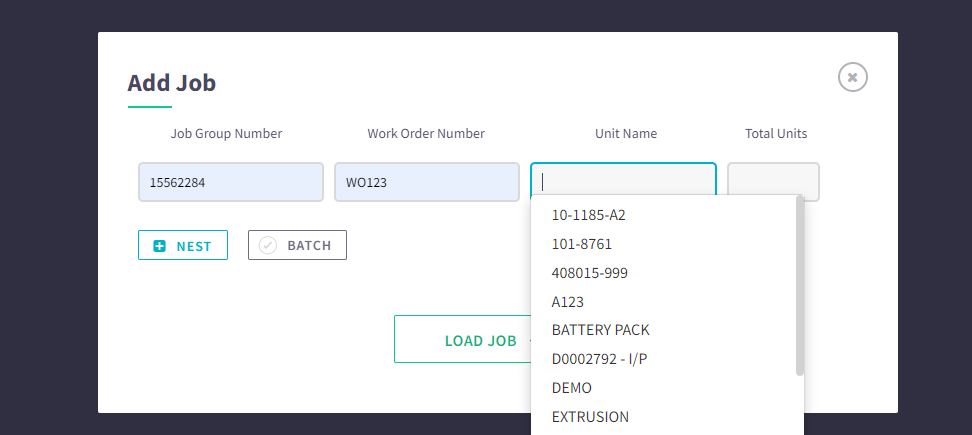
Select your desired Unit, complete the Add Job requirements and press "LOAD JOB".
Setup Details
As soon as you initiate a job in Compass, the platform will direct you to the Setup Details page, where you will find all the necessary Tools and Materials required for the production order.
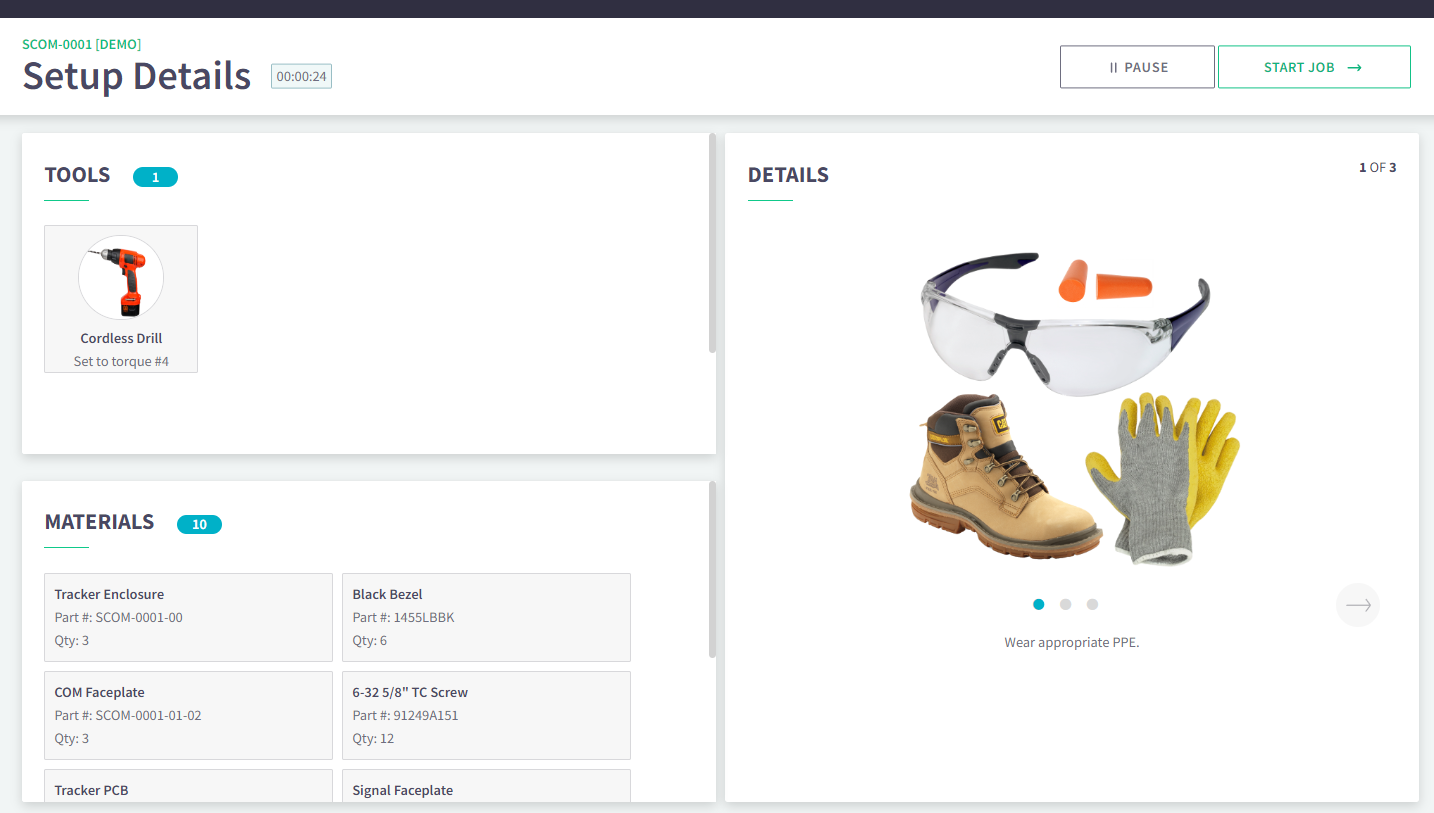
On the right side of the screen, you will find the Setup Instructions section, where you can view specific instructions related to the setup process. If there are multiple Setup Instructions available, you can easily navigate through them by clicking on the dots below the images or using the gray arrows that appear to the left and right.
At the top-right of the Setup Details page, you will find two essential options: "PAUSE" and "START JOB." Pausing the production run should be reserved for situations where no progress can be made, such as when essential materials are unavailable. The system will record the exact time it takes to prepare for the production run, making it highly recommended to use the Pause feature when applicable. This helps maintain accurate records and ensures that any delay in the setup process is properly documented.
Once the production run is ready to commence, you can proceed by pressing the "START JOB" button.
Materials and Your Time
On the left side of Compass, you will find the "MATERIALS" tab, which provides you with a comprehensive list of the Tools and Materials required to perform each individual Instruction task.
Additionally, each Instruction task is allocated an estimated time to complete. This time estimation helps you plan and manage the production process efficiently, providing a clear indication of the expected duration for each task. Once 80% of the allocated time has passed, the "YOUR TIME" tab will change to Alert Orange to signal that this Instruction task should be near complete.
Switching to the "YOUR TIME" tab will display the progression of both the individual Unit being built, as well as the Total Run Time of the Work Order.
At the bottom of either tab are 3 buttons: Back (left arrow), Pause (middle icon), and NEXT. When a Instruction task is complete, press the NEXT button to proceed to the next task.
Picture in Picture (PIP)
In certain Instruction tasks, the HQ Designer may find it necessary to utilize multiple pictures to provide comprehensive guidance. As a result, you might see additional images floating above the main Instruction image. These smaller images are known as pictures-in-pictures (PIP).
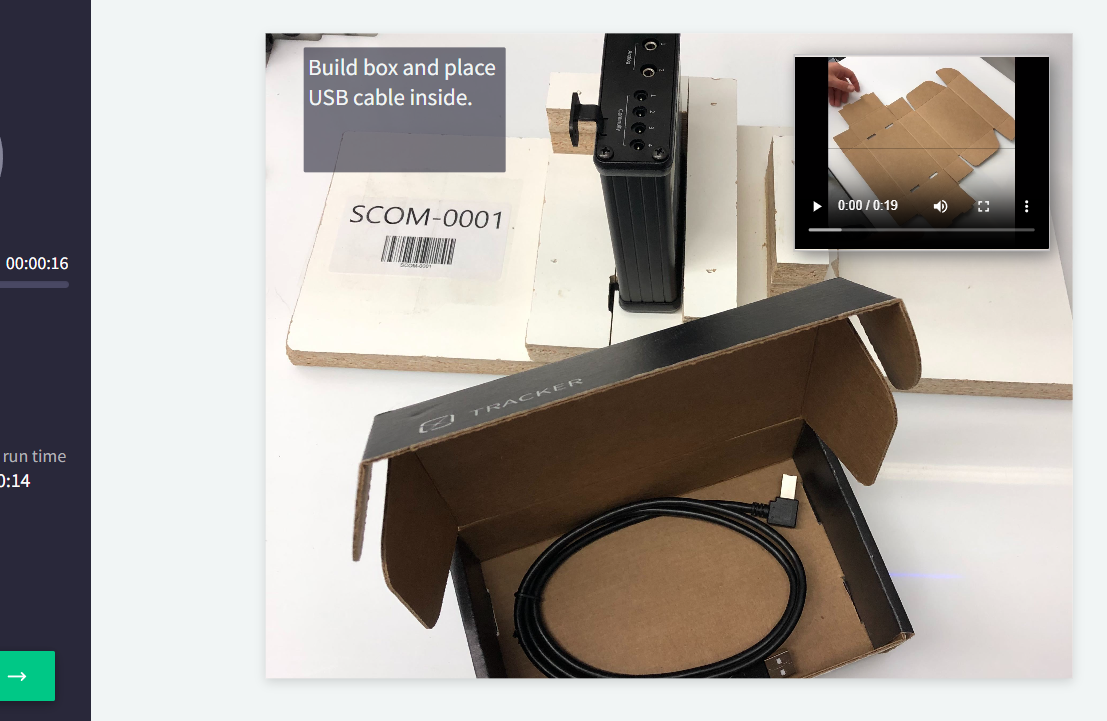
PIPs offer interactive functionality, allowing you to click on them to expand and take over the entire screen. When clicked a second time, they will return to their smaller state. Additionally, PIPs can also contain videos that can be played in either the large or small state.


 2 min read