In this training, our focus will be on creating Work Areas within HQ Admin.
Defining a Work Area
Work Areas in Scout Systems offer a range of unique settings, and it's crucial to configure them effectively to meet your organization's specific requirements. To help you make informed decisions, let's explore some examples that align with your vision. Take a moment to consider these scenarios and choose the approach that best suits your needs.
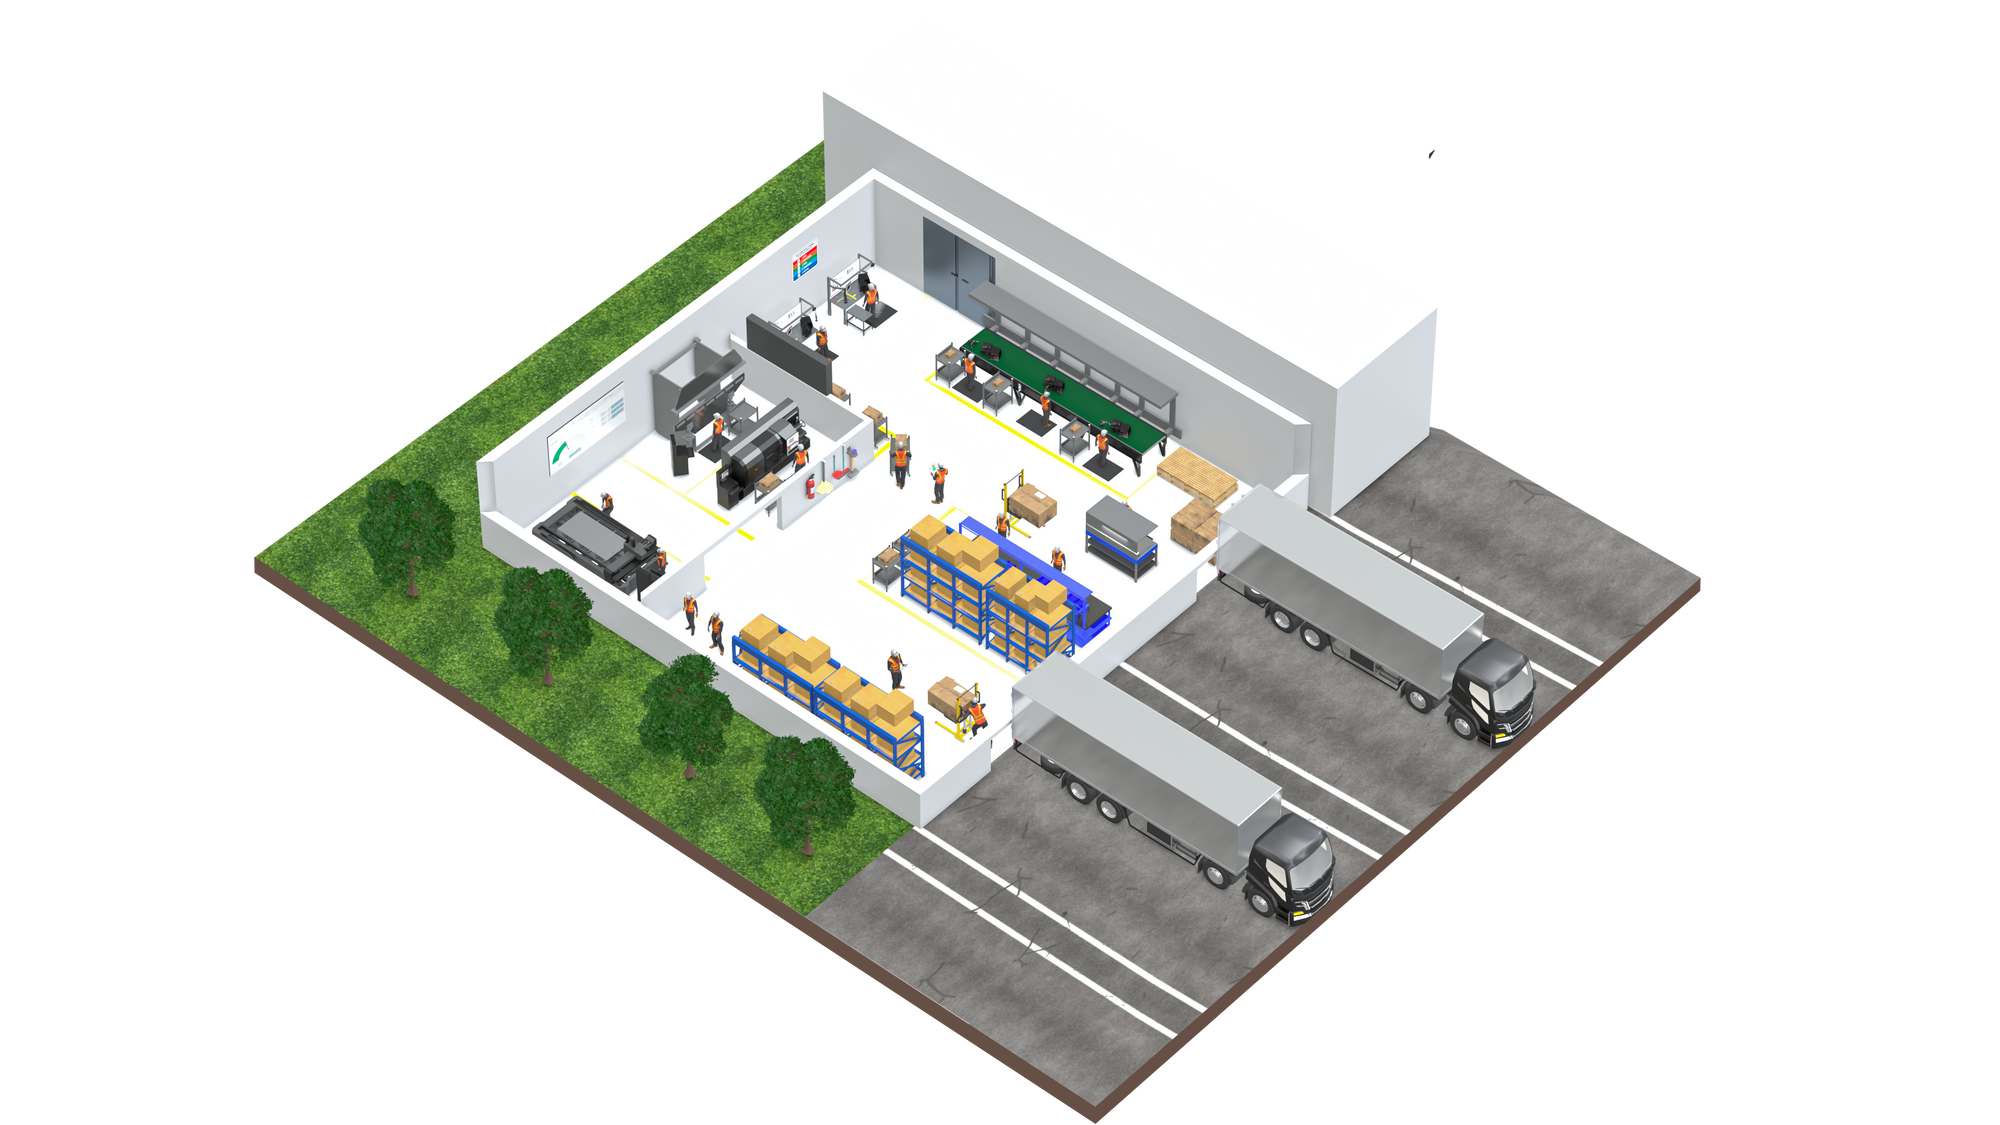
Factory 1: A single location in which the Leads and Production Supervisors oversee all staff.
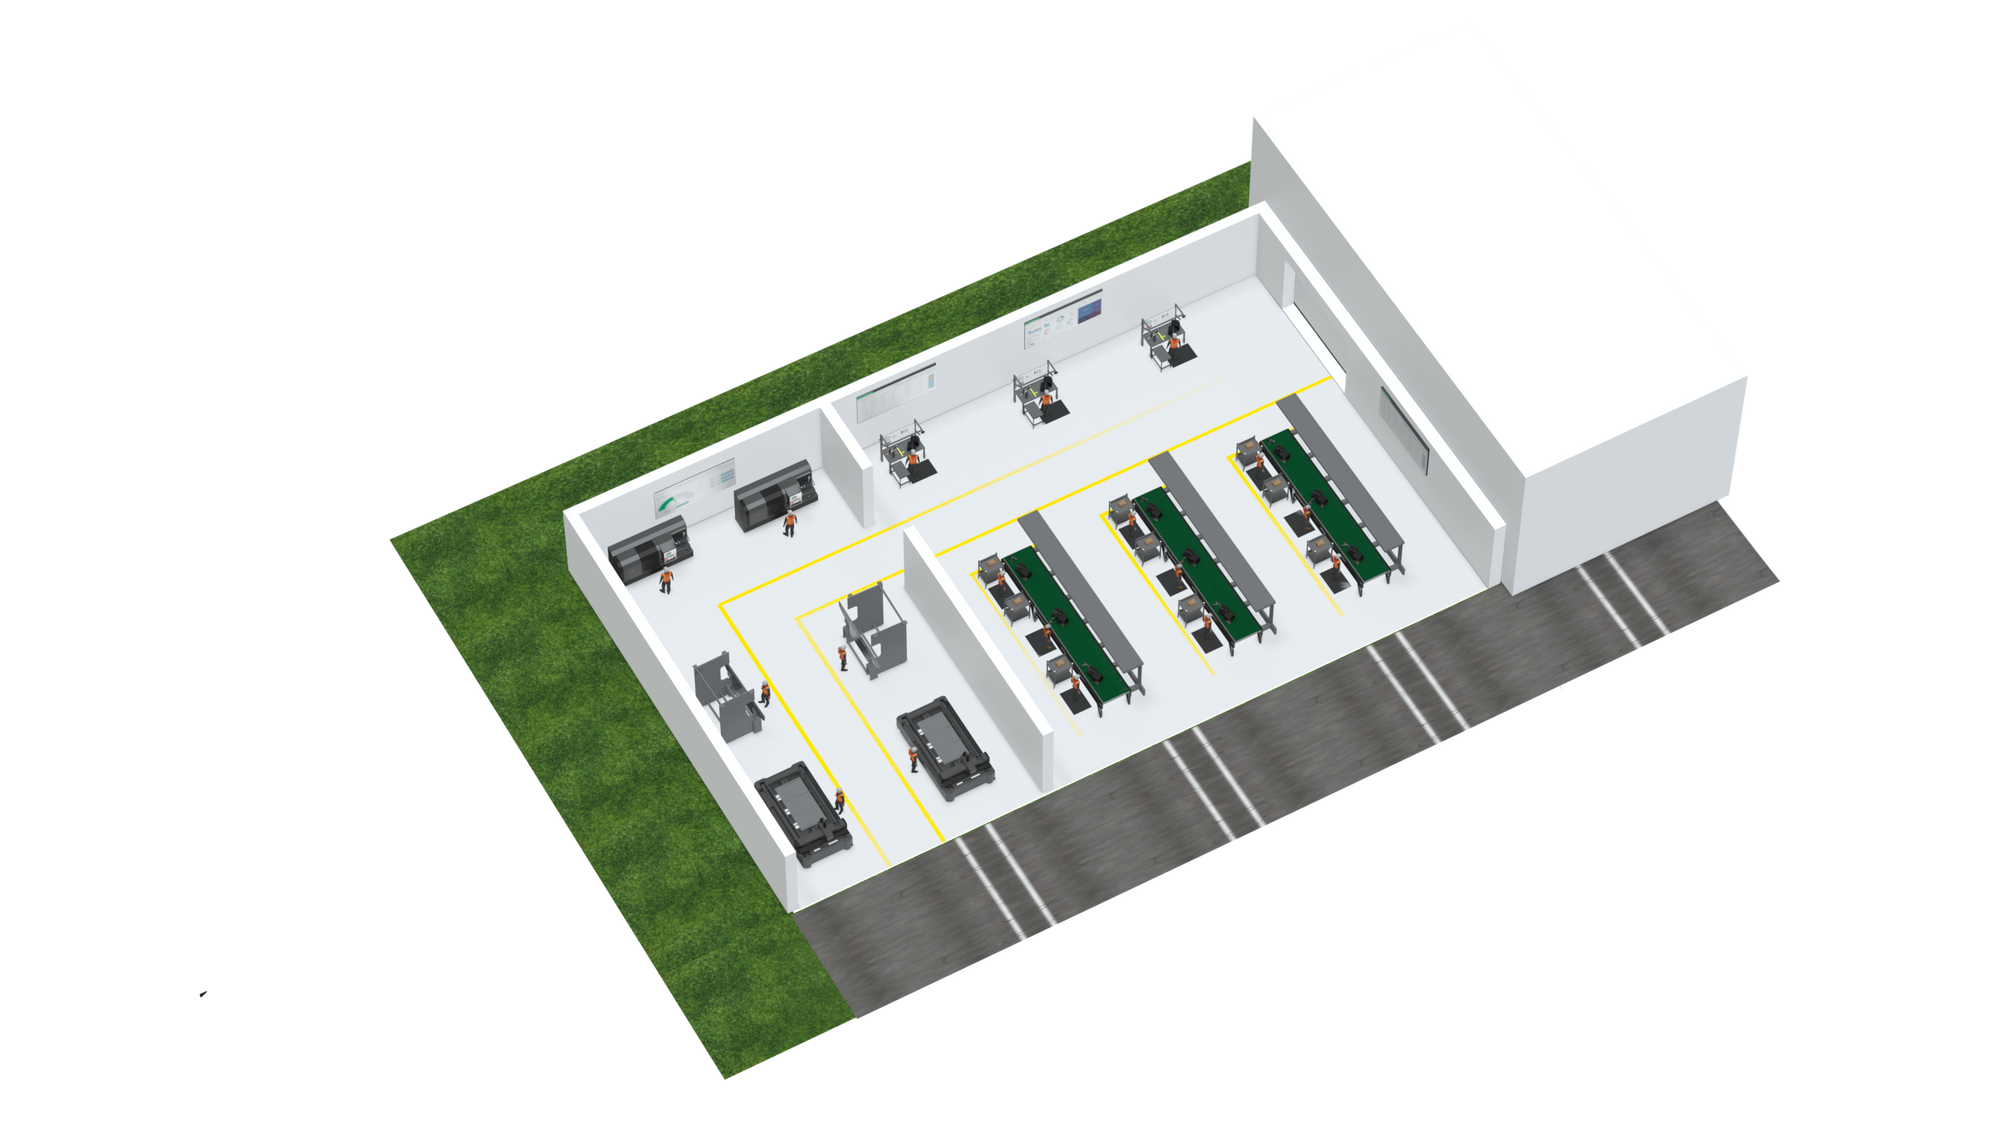
Factory 2: Single location with unique Leads and Production Supervisors for unique Work Areas.
Factory 3: Multiple locations that build unique products and are ran by different Management teams.
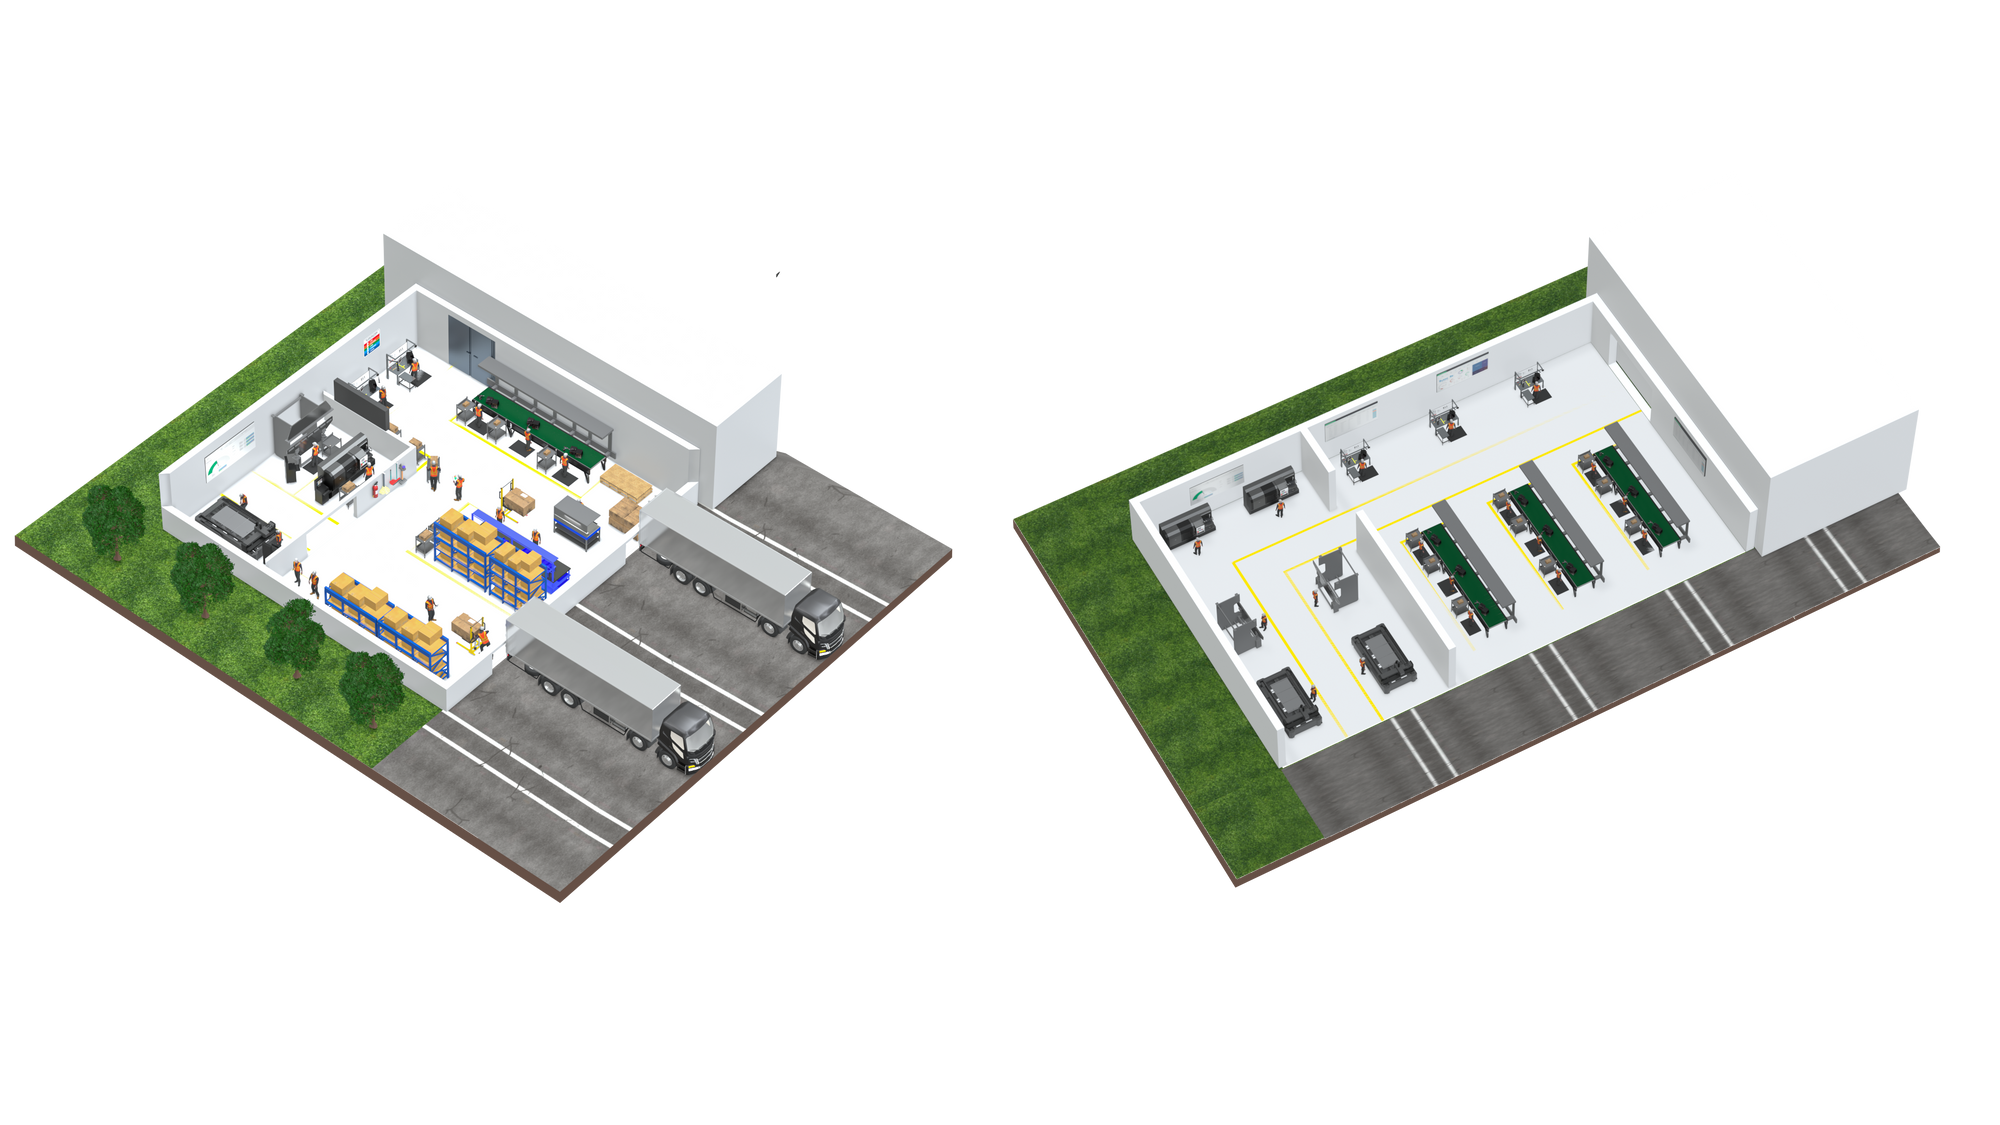
Factory 4: Multiple locations that build similar products and ran by same Management team.
If you've chosen Factory 1 or 4, our recommendation is to create Work Areas in Scout Systems that encompass the entire factory. This approach allows for a streamlined management and monitoring process.
For Factory 2, we suggest creating Work Areas in Scout Systems that correspond to the number of individual Work Areas within your factory. This configuration aligns with the specific structure of your operations and facilitates efficient tracking and organization.
In the case of Factory 3, we recommend setting up separate Scout Systems accounts for each location. This ensures that each site maintains its own unique setup and enables focused management. As you continue with your training, please reach out to us for assistance in implementing this configuration.
By tailoring the creation of Work Areas to your chosen factory type, you'll optimize your experience with Scout Systems and tailor it to your organization's unique needs.
Creating Work Areas in HQ
Navigate to HQ Admin, and in the top center navigation select "WORK AREAS".

To create a work area press the green + sign next to the text "All Work Areas". This will generate a blank work area titled "Untitled Area".
Editing Work Areas in HQ
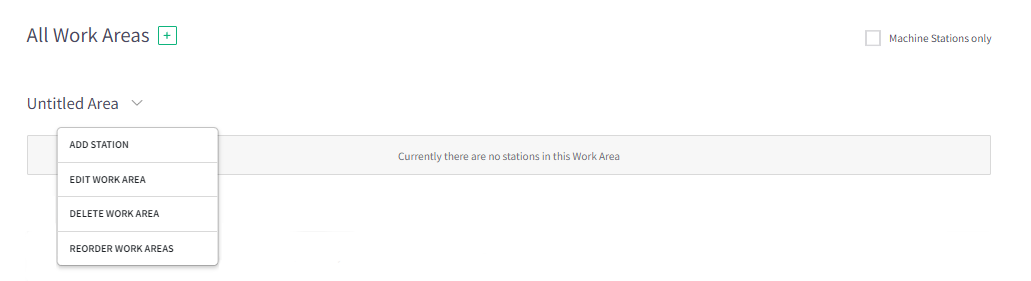
To the right of "Untitled Area" press the down arrow and select "EDIT WORK AREA".
Custom Pause Reasons
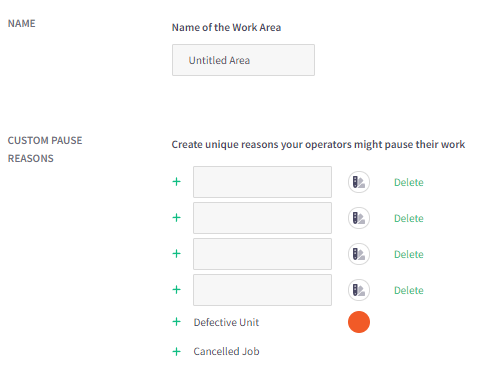
In addition to creating Work Areas, you have the flexibility to rename them according to your preferences. Furthermore, you can configure Pause Reasons that will be displayed to operators in case of production stops. If you require additional reasons, simply click on the green "+" sign on the left side to expand the list. Each pause reason can be assigned a unique color, which will be reflected in the ANDON Dashboard, enhancing visual differentiation and clarity.
Work Area Contacts

Each Work Area allows for the assignment of unique support staff members. You can configure their Display Name, Title, preferred contact method (SMS or email), and preset messages. When a notification is sent by a Compass station, the system will automatically include all relevant production information along with the preset messages.
Adding Work Area Contacts is a flexible process with no limitations. Simply click on "Add Another Contact" whenever you need to include additional staff members. This ensures that you can include all relevant personnel without any restrictions, providing comprehensive support coverage for your Work Areas.
Auto Pause (Local)
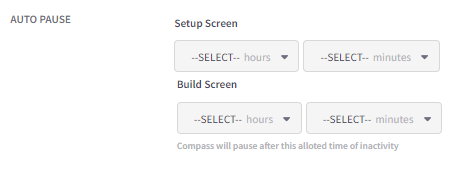
Please note that the following is an advanced feature. By utilizing the Scout Systems Tracker & Proximity sensor, you can establish a designated working zone. In cases where an operator is not sensed within the designated zone and the Tracker does not detect any value-added work, the Auto Pause feature will automatically activate the Pause button on behalf of the operator.
To customize this feature, you can set the required time duration for both Setup and Production. Once the specified duration is exceeded without any value-added work detected, the Auto Pause feature will engage. When this happens, the Pause screen will rewind the clocks back to the moment when the last value-added work was sensed. This ensures that your data remains accurate and reflects the actual working time.
By incorporating the Auto Pause feature, you can enhance productivity monitoring and minimize idle time for operators, resulting in more precise data collection and improved operational efficiency.
Live Production Metrics Display

HQ Live Production is an interactive table dashboard that provides real-time visibility into all production activities from the past 24 hours up to the present moment. Within this dashboard, you'll find various columns showcasing relevant data. One of these columns allows you to set a preset desired Metric for your production operations.
You have the flexibility to choose from several options for the desired Metric, including Units (default metric), Units per time interval, length per time interval, and weight per time interval. This feature enables you to monitor and track the specific metrics that align with your production goals and objectives.
By utilizing the HQ Live Production dashboard and customizing the desired Metric column, you gain valuable insights into your production performance, enabling you to make informed decisions and take proactive measures to optimize efficiency and output.
Designer Publishing Reviewers

HQ Designer is the central application where all documentation and control processes occur. Users with Designer access are empowered to create and modify work instructions according to your organization's needs. If you wish to grant an elevated role to certain Designer users for reviewing all changes made, you have the option to do so.
To assign the elevated role, simply select the desired Designer users from the dropdown menu. It's important to note that users must have Designer access in order for them to appear in the dropdown list. Once Reviewers are selected, this feature will automatically be enabled.
If, at any point, you decide to disable this feature, you can simply de-select all Reviewers associated with the specific Work Area. This grants you full control over the configuration and ensures that the elevated role for reviewing changes is only assigned when necessary.
By leveraging the Reviewers feature in HQ Designer, you can establish a streamlined and controlled process for reviewing and approving modifications to work instructions, enhancing collaboration and maintaining a comprehensive documentation system.
Compass Inspectors

Digital Work Instructions can incorporate quality check-points that necessitate review by authorized Inspectors. These Inspectors are designated for HQ Users & Operator Users and play a crucial role in ensuring the quality of work. However, it's important to note that Inspectors are not permitted to inspect their own work, maintaining objectivity in the inspection process.
If you would like to enable this feature for your Work Area, you can simply select the users (anyone with a Compass Access Key) whom you wish to assign as Inspectors from the dropdown menu. Please ensure that the Users already exist in HQ for them to appear in the dropdown list. Once the Inspectors are selected, this feature will be activated.
Conversely, if you decide to disable this feature, you can easily de-select all Inspectors associated with the specific Work Area. This allows you to have full control over the configuration and ensures that the role of Inspectors for reviewing work is assigned selectively.
By leveraging the Inspector feature in Digital Work Instructions, you can establish a robust quality control process that involves dedicated Inspectors reviewing the work of Operators, thereby upholding high standards and driving operational excellence.
Batch and Nested Jobs
If your Work Area doesn't follow the Single-Piece-Flow methodology, it might be beneficial to enable the Batch Jobs feature. By toggling Batch Jobs ON, operators will have the ability to select their preferred batch size before commencing the production order. This allows for more efficient and streamlined operations.
On the other hand, if your Work Area utilizes equipment that can cut multiple distinct parts simultaneously and you aim to enhance individual cycle time data collection, you should consider enabling the Nested Jobs feature. When Nested Jobs are turned ON, operators can create jobs with an unlimited number of unique products. Over time, as sufficient data is collected, the system will automatically process the historical data to estimate individual cycle times for each part. This becomes a valuable tool for optimizing scheduling, especially for CNC cutting tables.
By leveraging the Batch Jobs and Nested Jobs features, you can tailor your work processes to better suit your specific production requirements, promoting efficiency, data accuracy, and improved scheduling capabilities.


 4 min read